Do you want your listing to capture the eye of your potential clients?
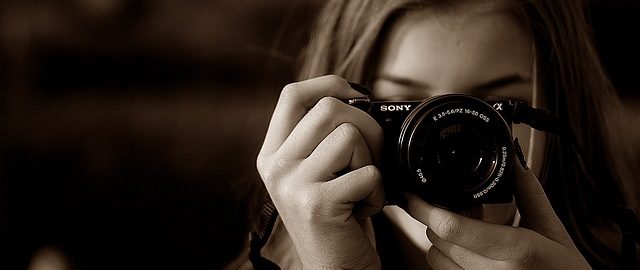
If your answer was, “DUH! Of course I do!” then it’s time to ditch the cell phone camera and use these 5 tips to add a professional touch to your photos!
1. Show off the Exterior
The outside of the home will be the first thing your clients will see, not only on the listing but also when they view the house in person. This shot can potentially make or break whether or not they continue scrolling through the listings.
Typically it is best to try and get the entire property in one shot, so that means no cutting off the roof or the sides. Most exterior home photos will be taken straight on at eye level.
To create a more unique viewpoint utilize your tripod and hold it above your head with the self timer on. While you may feel silly doing this, it will pay off in the long run when the result catches the eye of your potential client.
2. Utilize Interior and Natural Lighting
Before you get snap happy, be sure to turn on all of the lights. This will help provide great lighting and also highlight the fixtures of the property. By turning on the lights you create a warm and inviting environment as home buyers scroll through the listing.
Natural light will also play a crucial role when it comes to making your clients feel right at home. When you open up the blinds in each room, you will allow the natural light to flood in. Combine this with the interior lighting, and you’re sure to get a beautiful shot.
3. Work The Angles
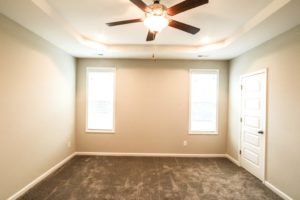
For those new to architectural photography, this tip is crucial to making your property look phenomenal. When you take a picture of a room facing it head on, the room appear small and narrow.
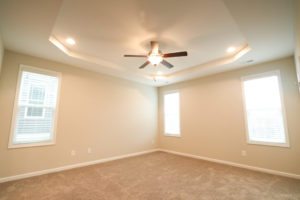
Believe it or not these two photos are of the same room!
By shooting in each corner of the room at a low level, you will create the image of a larger space. Also, try and stick to the rule of only showing two walls in each picture. By utilizing this trick you will help create dimensions that are more appealing to the viewer.
4. Don’t Look Down
When it comes to positioning your camera remember to not look down. This advice comes in handy not just for roller coasters, but for taking interior home photos as well. By pointing the camera down you can make the room appear smaller and distorted.
To avoid this, bunch yourself in the corner of the room and point your camera upward. This will help make the room look large and open. An easier way to do this is by using your tripod to ensure each shot is at the same level. On most cameras there is a self timer function, use this to help your image will look crisp and clean. When you press the button to take a photo it can appear blurry, even if you are using a tripod.
5. Perfect the Bathroom Shot
Bathrooms—every home has one, and generally they all have the same function. When taking pictures of a bathroom the best rule of thumb is to focus on your countertop, vanity, shower, and bathtub. Everyone knows a bathroom has a toilet so don’t sweat it if the porcelain throne is missing from your shot.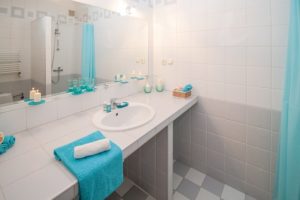
If the toilet does happen to pop up in the shot PLEASE make sure the seat is down. Nobody wants to see an open toilet in their potential new home. The key to capturing the best shot is to utilize the mirror. By doing this you can feature your cabinets and countertop while also showing off the bathtub and shower.
Now that you know the tips and tricks of real estate photography go ahead and try these out on your next listing!
Your clients and competitors will definitely be impressed by the professional look of your photos.
Looking for More?
Interested in more tips and tricks? Check out our archive of Dakno’s Tuesday Tips, or look for new updates on our Facebook page, or for more personalized marketing advice, give us a call to find out about our marketing retainers.
 your other subscriptions


